Friday, January 27, 2012

Jelly Time

Last night all I planned to do was pig out on Safeway wings :) but my little brother came into my room looking at my 4 paintings. He was actually interested and I enthusiastically shared how fun it has been for me so far. How it's such a stress reliever. I handed him a canvas panel and the next thing I know everything was set up and I was holding a paint brush with gesso dripping off of it. Usually I spend time looking for a tutorial, but this time I just jumped in and went with the flow. I decided I wanted to paint a Jellyfish (I have a thing for tentacles) and keep it simple and silly. My little brother on the other hand wanted to do something that had snow involved and ended up painting 2 trees covered in snow leaves.

I wasn't able to snap a picture of his though because he immediately took his masterpiece into his room wondering where to hang it. I'm really happy he had fun :) It's a great reminder to share your interests with others! The more the merrier!

The Whimsical Jellyfish

Oh I even practiced putting an initial/signature this time! :) haha

Wednesday, January 25, 2012

Tree Branches Galore

Ah...the alluring trees. So beautiful. So calming. Although viewing them from the comfort of your backyard is a whole different story compared to painting them on a fresh canvas. I always believed that learning to paint a tree was a big staple to any artist's beginner skills, so I set out on my journey to learn! :) As I was swimming through the tutorials on YouTube ( it's such a practice in decision making skills, I want to try them all!) I finally found the video I was going to stick through for my practice in painting tree branches. In this video, artist Amy Pearce shows us how to paint a pretty spooky looking tree. She's using oil in her tutorial but the same techniques can be applied to acrylics.

I followed the basic form of the tree and then added the branches using thick to thin brushes along the way. This was great practice for using fine strokes, but frustrating too because I have shaky hands. I then did the highlights as shown in the video and that really made it come alive.

In Amy's painting she used a bluish background, but I decided to go for a darker theme and used a pale moon instead as my source of light. I painted my moon by looking at pictures trying to get that dirty white hue to it and trying to add pockets of gray for the craters. I used my fingers a lot to blend it and then gave it a textured look. It came out alright but I'll try to work on my moons! :)

And voila! Here's the result of my 4th painting! I took my first baby step in using a larger canvas this time (instead of the 12x12 canvas panels) and I'm glad it wasn't just blobs of paint because canvases are pretty expensive! :)


The "textured" look I was talking about :)


Overall, it was a great tutorial for learning to paint a tree and its branches! Next time I will definitely be experimenting with adding leaves/flowers :)

Friday, January 20, 2012

Painting Inspired by Philippine Waters

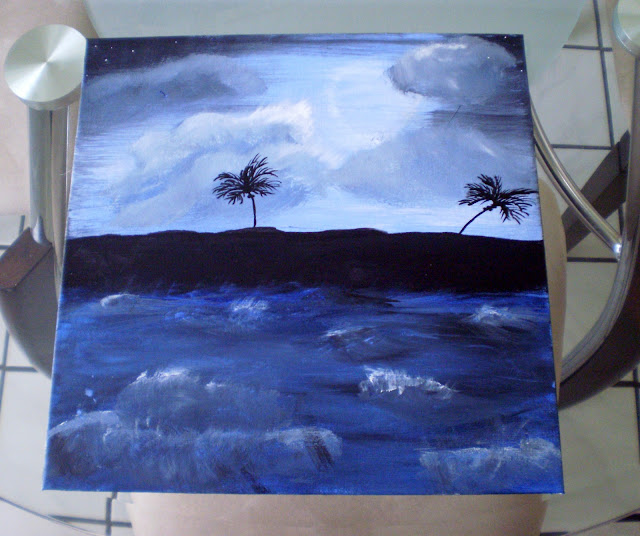
A quickie fact about myself: I lived in the Philippines for 9 years :) As I was stumbling around YouTube for tutorials and random inspirations I came across a video that taught the basics to drawing palm trees. I suddenly felt a pang of longing for the islands that hold so much meaning to me. I basically grew up with an audience of coconut palm trees surrounding me. I can still remember looking out my window at the swaying of seemingly weak trees only to find they had survived over and over the greetings of typhoons. For my 3rd painting it was great to feel that sudden urge to paint out of true inspiration!

I named this painting Sangley Point. Sangley Point is a coastal naval base in the Philippines where a lot of my high school friends lived.


There were plenty of weekends spent there for dance practices, random get togethers, and just hanging around the sea wall. The smell of the sea is so distinctive...fishy but fresh! Manila bay is not known for its cleanliness, but all is forgiven when you're standing by the edge, and the constant hit of the wind along with the sound of water splashing violently on the rocks drowns out all the worries around you.

I wasn't able to take any progress shots because I was too into it! :) Painting this allowed me to familiarize myself with the brushes which was great! Learning to distinguish the brushes that make thick and fine lines really helps. I'm starting to have favorites in my beginner brush collection :) so that's a good sign.


Wednesday, January 18, 2012

Under the Tuscan Sun

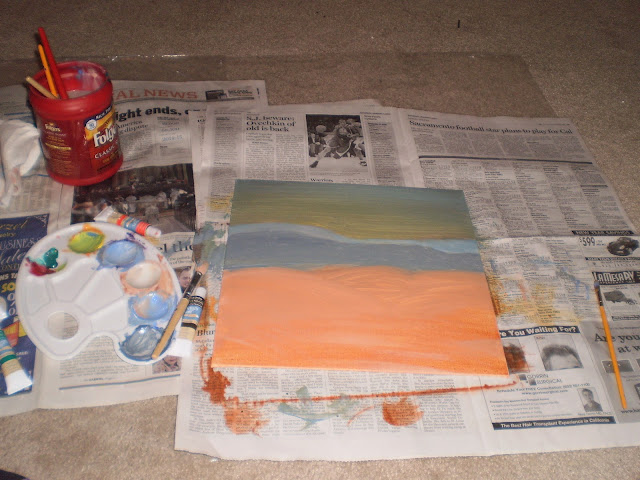
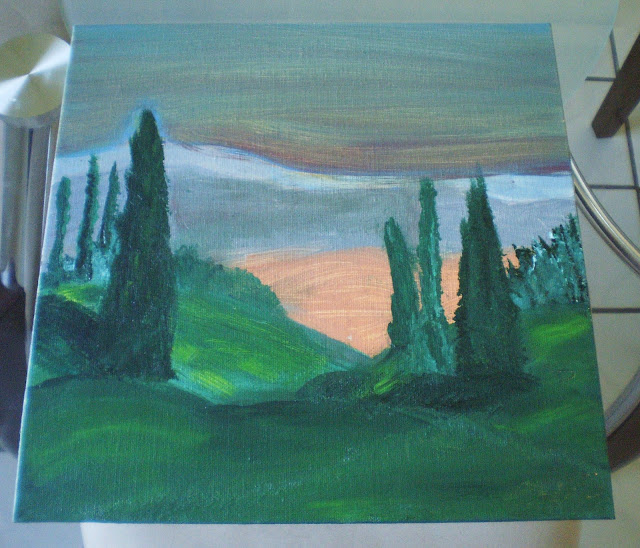
For my second shot at painting, I decided to try to follow a step-by-step tutorial I found online while researching all that is acrylics. You can find the tutorial right here. Julie Shoemaker, the artist and teacher, shows you how to paint a beautiful Tuscan Landscape!

Mine seriously looks nothing like hers sadly, but I'm still happy with my own unique result. It's a great tutorial for teaching beginners like myself about depth. She explains how images (like the hills and background shrubs) are suppose to appear duller and how images in the foreground tend to appear darker. I really enjoyed this tutorial because it really made me dive into my paints. It allowed me to grow more familiar with the colors and how they mix with one another.

And of course I must mention how relaxing it is to come home after a stressful day of work and just splash the paint on that canvas! Playing "La Mer" in the background with a paintbrush in my hand really makes me feel one step closer to becoming an artiste.


I'll be needing more paint soon! Spacing out the paint in the little tubes makes it hard to cover the canvas to my desire. The only thing I didn't follow in the tutorial was putting on Gesso! I had no idea that it was a necessity for painting with acrylics, so I must get some asap :) Beginner's mistake...I bet it would have helped with the blending a lot.


All done! I didn't get to put the little house though! Trust me I tried...but it looked like a odd-shaped disaster with a red roof.


Tuesday, January 17, 2012

New Year, New Cut

To start the new year right I decided to get a hair cut! Not for me though, but for my 1 year old welsh terrier. It's been on my list of things to do, but I was afraid of what he'd look like without his signature "furballness".

His name is Odin and he's such a personality I tell you. He completely and utterly loves socks (always going through my gym bag to get to them), he barks when he doesn't get his way, and is the sweetest pup I've ever had (when he wants to be).

I made an appointment at my local Petco's grooming service for a Saturday morning and 3 hours after leaving him there in their capable hands he came out looking like this! Handsome is the only word I can think of!


Isn't he a cutie? The whole thing cost 50 bucks flat, which I thought was worth it since it was his first groom ever. The service came with a shampoo bath, blow dry, cut, and nail trim. :)

Ruff!

Exploring New Avenues

Excitement is everything! Excitement inspires new things, creates new things, and is the driving force of creativity! Today I'm quite happy that I'm starting this blog and just putting my thoughts and my own excitement out there. I've been hesitant about it for no real reason, but hey life is short, might as well share what you have and who you are :)

Yesterday my boyfriend took me to Michaels Crafts Store to buy my very first art set! I've been lurking around websites and admiring everybody's hard works of art that I decided to just get my hands dirty and try it out.

I decided to go for acrylics as my medium. I chose beginner or "academic" paints that didn't cost as much as the professional ones. I didn't want to go all out in the beginning because I'm not even sure if I'll be good at it. (Here's hoping!)

So I chose a tub of assorted paint tubes, 2 sets of different brushes, a set of plastic knives, and a pack of canvas panels. :) Very very exciting.


I was so excited that I started painting right when we got back from the store! So here's my first try at Acrylics!


I named it: 99-98 Balloons Go By :)
Next time I'm going to try to add way more paint so that the canvas isn't so visible.

Cheers to exploring new things!